Vectorize simple drawings images
Introduction
This will simply show you a little step-by-step to transform a sketch into a vector image!
Even if the example will use Affinity Designer, the process could be applied with any vector software.
(Before we begin)
If you don’t know anything about vector creation, you should read those two articles:
- Vector basics: explain what is a `vector` drawing
- Creating vector images: and some basic vector software usage
Drawing the shapes
The following image will be our starting point:
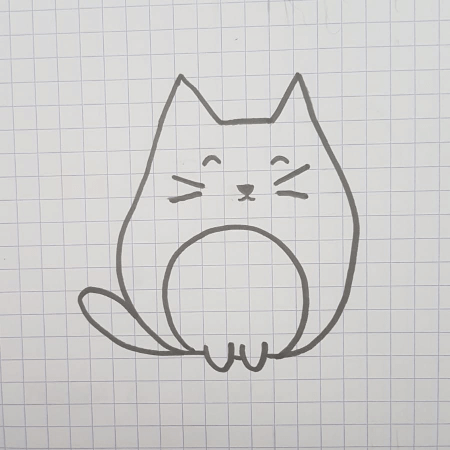
Shape thinking
To be efficient (aka. lazy), you need to think about shapes (that’s all what vector illustration is about).
And we can use the specificity of shapes:
- they can be closed:
this will be good for the body, the tail, the nose & the belly - the can be open:
this will be for everything else, including the legs.
Comfortable line style
To keep easy the tracing part, we will use a basic style:
- pick a stroke color: usually I go with a pink #ff0078 to contrast with the line art
- a stroke size: usually a little thinner than the sketch’s pen
- remove any fill: so we won’t cover any part of our sketch

Drawing time
And now you can draw with the pen tool. (keyboard shortcut is the p key)
- keep the number of points as low as possible. It will be easier to edit afterwards.
- don’t try to be too precise because…
- …you will go over your path with the white arrow to adjust them if necessary
Edit with the Node Tool (white arrow)
It’s very easy to use the pen tool to make some shapes.
You can try to be as accurate as you want in the first attempt or, you can be quick & dirty.
Afterwards you can refine with the white arrow tool (aka. Node Tool).
With the Node tool you can:
- convert any point to sharp/smooth (inside the top context bar).
I often use that to “reset” a point if I’ve made some edit that I don’t like. - adjust all handlers (keep
altpressed if you want to break the handler) - add (or remove) some points
And then:
TADDAAAA! ✨
N.B. The pen tool can also be used as a Node tool with shortcuts! But it won’t be covered here. 🤫
Straight to curved path
One thing that I really like, is that Affinity make it easy to convert straight path to curves.
In order to do that you will:
- activate the
Node Tool(the shortcut is theakey) - select your path
- go hover your straigth section
- drag & drop when your satisfied.
Ordering shapes & coloring
While tracing without fill, it’s hard to notice which shape is above the other.
By adding some basic colors, you will see where the overlaps are.
Layer panel
All ordering can be done inside the layer panel (on the right).
You will have to drag & drop to re-organize.
In the video you can notice may things.
You can rename things by double clicking on them.
When you drag, there is 2 positions of the drop-zone:
- takes all the width: this is moving
- begin after a path preview: this nesting
More on this on the next Section 🔜
The end result could be something like that:
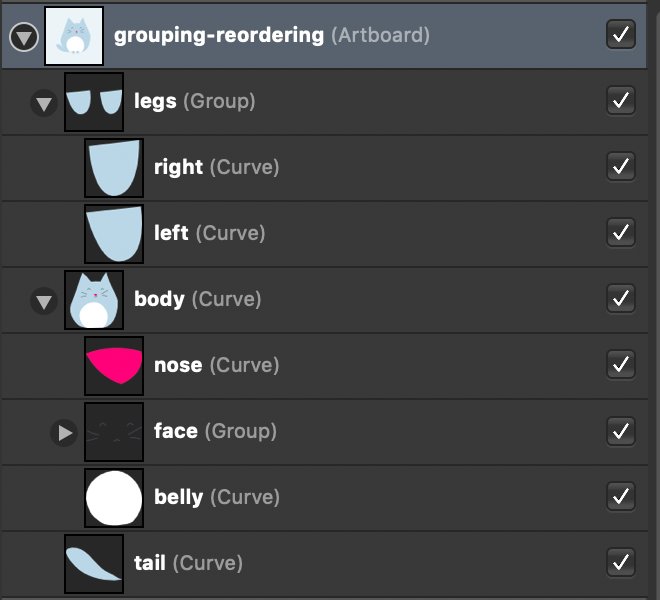
Groups & Path
If you look closely in the layer panel you will see that, next to the path names, there is between parenthesis more information.
It’s the type of thing
And so you see that you can put a path inside:
- another path
- or a group
This can be done when dragging if the dropzone begin after the preview.
If a path is inside another one it will be cut to fit his parent.
Grouping is just to be well organized, and move things together with ease.
And so with with all this mighty knowledge we can:
- group all the part of the face
- put the the belly inside the body, to make sure it doesn’t spill out outside
- and so on!
“X-Ray” outline mode
Sometimes you might feel overwhelm by the paths, and just loose the sight of them! 👀
It’s where the outline view mode can spark you some joy.
This will help figure out if you’re missing some path…
…and will help you select anything easily!
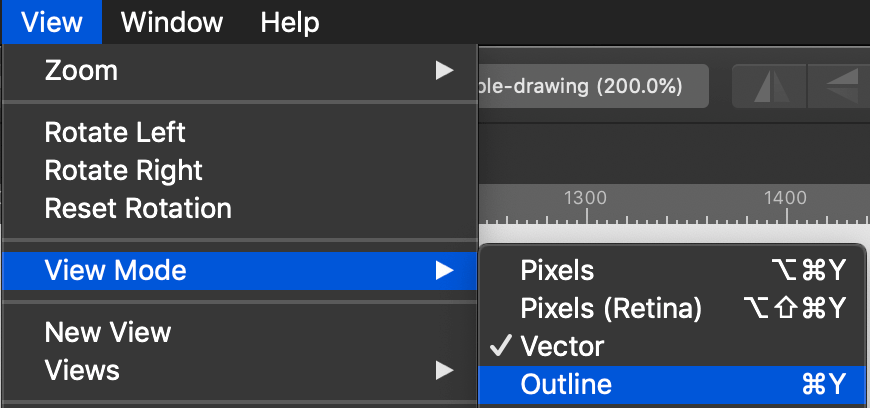
Learning the shortcut (cmd + Y) will help you going back and forth those 2 view modes.
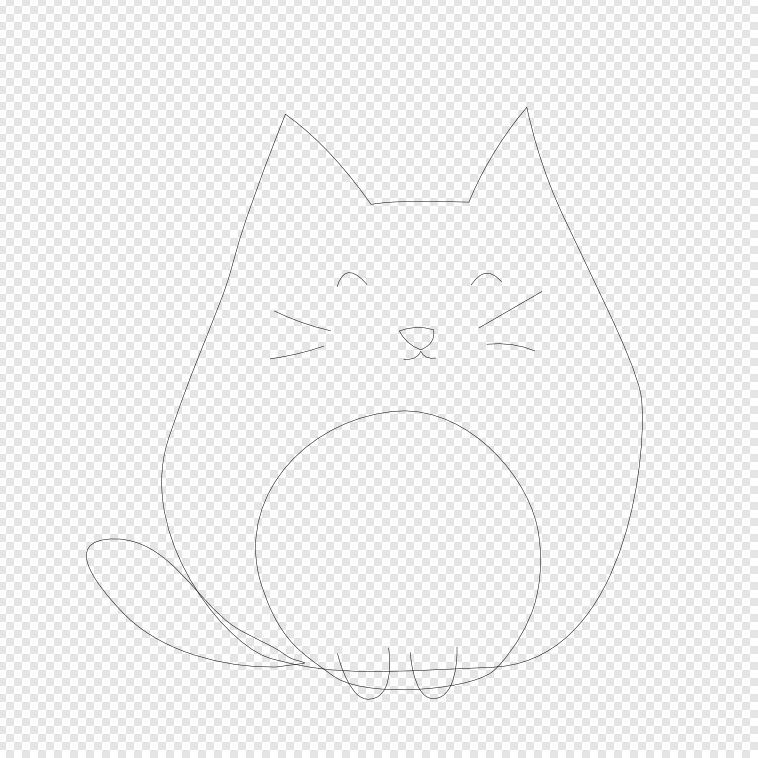
Refining
And now if you want, you can add stuff:
- keep your path in order
- to make some easy inner shadows, create path inside other paths!
you even have a shortcut in top-right to place your next path inside another!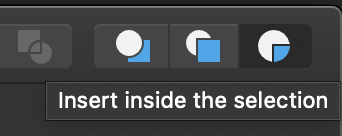
And so this can be your final result 😽
Wrapping up
Vectorizing a sketch can be pretty satisfying and can be achieved in a few small steps:
- trace your sketch
- refine paths the Node Tool
- fill them with colors
- reorganize the paths
- with groups
- or path inside path
- and add more stuff until your statisfied!
And a list of shortcuts:
pPen ToolaNode Toolcmd + GGroupshift + cmd + GUn-groupcmd + YToggle outline mode